How to Install Visual Studio Code on Windows?
Visual Studio Code is the most popular code editor and the IDEs provided by Microsoft for writing different programs and languages. It allows the users to develop new code bases for their applications and allow them to successfully optimize them and debug them properly. It is a very user-friendly code editor and it is supported on all the different types of operating systems like Windows, macOS, and Linux. It has the support for all the languages like C, C++, Java, Python, JavaScript, React, Node JS, etc.
It is the most popular code editor in India also. It allows users with different types of in-app installed extensions for the different types of their supported languages. It allows the programmers to write the code with ease with the help of these extensions. Also, Visual Studio Code has a great vibrant software UI with amazing night mode features. It suggests auto-complete code to the users which suggests the users complete their code with full ease.
Installing Visual Studio Code on Windows
Follow the below steps to install Visual Studio Code on Windows:
Step 1: Visit the official website of the Visual Studio Code using any web browser like Google Chrome, Microsoft Edge, etc.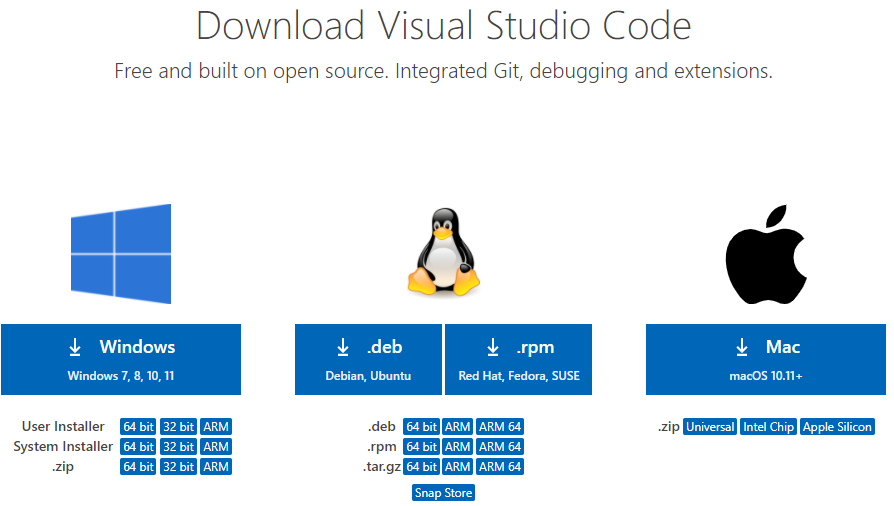
Step 2: Press the “Download for Windows” button on the website to start the download of the Visual Studio Code Application.
Step 3: When the download finishes, then the Visual Studio Code icon appears in the downloads folder.

Step 4: Click on the installer icon to start the installation process of the Visual Studio Code.
Step 5: After the Installer opens, it will ask you for accepting the terms and conditions of the Visual Studio Code. Click on I accept the agreement and then click the Next button.

Step 6: Choose the location data for running the Visual Studio Code. It will then ask you for browsing the location. Then click on Next button.
Step 7: Then it will ask for beginning the installing setup. Click on the Install button.

Step 8: After clicking on Install, it will take about 1 minute to install the Visual Studio Code on your device.

Step 9: After the Installation setup for Visual Studio Code is finished, it will show a window like this below. Tick the “Launch Visual Studio Code” checkbox and then click Next.

Step 10: After the previous step, the Visual Studio Code window opens successfully. Now you can create a new file in the Visual Studio Code window and choose a language of yours to begin your programming journey!

So this is how we successfully installed Visual Studio Code on our Windows system.
good
ReplyDeletegood job man
ReplyDeletethanks
ReplyDeletethanks bro
ReplyDelete